nick forrer
Game development and Lisp related posts
Roguelike tutorial for Common Lisp - Part 1 - Drawing the player
Welcome to the first part of the tutorial! If you haven’t already, please check out Part 0 to get the project created.
This tutorial series is based on the Python Roguelike Tutorial. This will be covering Part 1 of that tutorial as closely as possible, with the exception of different structure to support more idiomatic Common Lisp, and with using BearLibTerminal instead of tcod.
Opening a window
First we’ll work on getting a window created. The Common Lisp bindings we’re using for BearLibTerminal provide some higher level functions to make interacting with the library more “lispy”, so some of the function names won’t align exactly with what you’ll see in the BearLibTerminal documentation (although you can also call those methods, we’ll mostly use the high level functions). You can find the documentation for the high-level API here: https://sjl.bitbucket.io/cl-blt/reference/.
Open up emacs, and start your REPL. Load your project and change into your package:
(ql:quickload :cl-rltut)
(in-package :cl-rltut)
Now in the cl-rltut.lisp file, create a main function to open the window, set some configs, and enter into a loop:
(defparameter *screen-width* 80)
(defparameter *screen-height* 50)

(defun draw ()
  (blt:clear)
  (blt:refresh))

(defun config ()
  (blt:set "window.resizeable = true")
  (blt:set "window.size = ~Ax~A" *screen-width* *screen-height*)
  (blt:set "window.title = Roguelike"))

(defun main()
  (blt:with-terminal
    (config)
    (loop :do
      (draw)
      (blt:key-case (blt:read)
                    (:escape (return))
                    (:close (return))))))
If you evaluate the buffer with `sly-eval-buffer`, you will be able to run the game from your REPL with:
(main)
If everything was done correctly, you should see an empty window:
Exciting! Let’s step through the code to see what’s going on.
(defparameter *screen-width* 80)
(defparameter *screen-height* 50)
This creates two global variables to store the width and height of the window, in cells. By default, the size of the cell is selected based on the font size.
(blt:with-terminal ... )
This is a macro that wraps the terminal_open and terminal_close functions of the underlying library. The macro will open a terminal at the start, execute whatever code we pass within the call, and then close the terminal.
(defun config ()
  (blt:set "window.resizeable = true")
  (blt:set "window.size = ~Ax~A" *screen-width* *screen-height*)
  (blt:set "window.title = Roguelike"))
The `set` function is how you configure various library options, such as managing fonts, or setting window settings like we do here. The nice thing about the Common Lisp wrapper is that it allows the use of format directives to format the string. We take advantage of that when setting the window.size property to the width and height variables that we defined earlier. If you’re not familiar with Common Lisp format directives, you can read more about them here: http://www.gigamonkeys.com/book/a-few-format-recipes.html.
(loop :do ... )
This just starts up an endless loop that our game will run in.
(blt:key-case (blt:read)
              (:escape (return))
              (:close (return)))
`key-case` is another macro defined in the high level API of the Common Lisp bindings. This is used to handle keyboard input. As the first parameter, it takes in an event from the keyboard. We’re using the `read` function to get this data. If there are no events in the input queue, `read` will wait for an event to come. This blocking behaviour is perfect for our case, because it will make the turn-based gameplay easier. The second parameter to the `key-case` macro is a list of clauses. The first part of a clause, for example :escape, will match with the event returned from the `read` call. If the event is that the escape button was pressed, then the second part of the clause wil be executed. In that case, we just return from the main function to close the program. Only the code in a matching clause will be executed.
(defun draw ()
  (blt:clear)
  (blt:refresh))
Here we just have a placeholder draw function, which will clear the window to black and then call `refresh`. All of the drawing that BearLibTerminal does is to an off-screen buffer, so we won’t see our changes displayed until the `refresh` function is called. While we aren’t actually drawing anything yet, this is needed to make the window visible. BearLibTerminal will only display the window with the first `refresh` call after opening the window. Prior to that, the window will stay invisible.
Adding the player
Now that we have a window, let’s get the player drawn to the screen. Update the draw function to look like this:
(defun draw()
  (blt:clear)
  (setf (blt:color) (blt:white)
        (blt:cell-char 10 10) #\@)
  (blt:refresh))
Pretty easy! When blt:color is set, that color will be used for all subsequent drawing until the color is changed again. Then, we set the cell at 10x10 to the @ character. If all works, you should see this when you run the game:
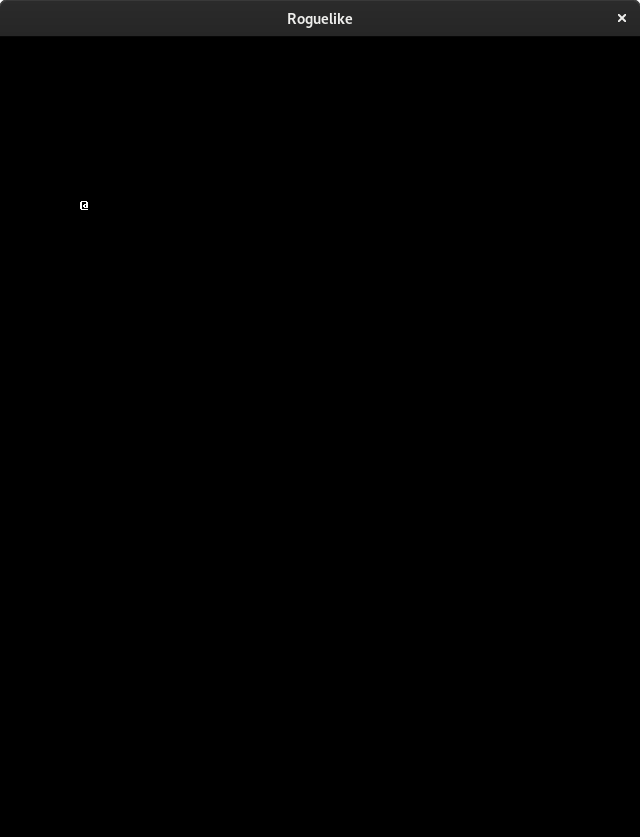
Next we’ll want to be able to move the player around. We’re already capturing some keyboard input, so it won’t be difficult to capture the arrow keys as well. Then we just need to have a way to track the players position so that we can update it when an arrow key is pressed. Make updates to the following functions:
(defun draw (player-x player-y)
  (blt:clear)
  (setf (blt:color) (blt:white)
        (blt:cell-char player-x player-y) #\@)
  (blt:refresh))

(defun handle-keys ()
  (let ((action nil))
    (blt:key-case (blt:read)
                  (:up (setf action (list :move (cons 0 -1))))
                  (:down (setf action (list :move (cons 0 1))))
                  (:left (setf action (list :move (cons -1 0))))
                  (:right (setf action (list :move (cons 1 0))))
                  (:escape (setf action (list :quit t)))
                  (:close (setf action (list :quit t))))
    action))

(defun main()
  (blt:with-terminal
    (config)
    (loop :with player-x = (/ *screen-width* 2)
          :and player-y = (/ *screen-height* 2)
          :do
             (draw player-x player-y)
             (let* ((action (handle-keys))
                    (move (getf action :move))
                    (exit (getf action :quit)))
               (if exit
                   (return))
               (when move
                 (incf player-x (car move))
                 (incf player-y (cdr move)))))))
If you run the game now, you should be able to move the player around using the arrow keys.
We created a new “handle-keys” function, and moved the input handling code into it. handle-keys returns a property list. When one of the arrow keys is pressed, the function would return something like:
'(:move (0 . 1))
When looking at the return value, we can check what type of action is returned with:
(getf action :move)
If we run that on the previous example, the result would be the (0 . 1), telling us that there was a move action to increment the player-y by 1. We can get the x and y portion of that with the car and cdr functions respectively. If there was no move action, getf would return nil.
We also added player-x and player-y as local variables on the loop. This will be changed in the future to add some more structure, but works for now.
Conclusion
That’s going to be it for this tutorial. You can find the current state of the code on Github. The list of changes since the previous tutorial can be found at https://github.com/nwforrer/cl-rltut/compare/part-0...part-1.
If you run into any issues, or have some feedback, please open an issue on this blogs GitHub repository.
Continue to the part 2.